Adobe Portfolio Lab

BUILDING YOUR INITIAL PAGES

START BUILDING YOUR ADOBE PORTFOLIO WEBSITE

Learning Objectives

By the end of this lab, you will be able to:

  1. sign up for Adobe Creative Cloud through TUportal (required only if you have not already registered)
  2. log into Adobe Portfolio and create a new site
  3. create a welcome page, about page, and contact page
  4. use modules to populate each page with the required content given to you from your instructor
  5. publish your website and obtain the URL of your website

Downloadable Files

If you wish to follow along with the instructional videos, download and extract the zip file containing images and a video.


SIGNING UP FOR ADOBE CREATIVE CLOUD

Clicking on any image with the YouTube symbol will open a training video. This first video discusses Adobe Creative Cloud, the programs you will be using this semester, and some additional general information that will help you this semester.

Key Steps From Video

  1. Log into TUportal
  2. Click on the home tab
  3. In the left menu, click the Adobe Creative Cloud link
  4. Answer the required questions and click to sign up
  5. Once subscribed, a green subscribed will appear and you will have access to Creative Cloud and can move to the next step of the lab

Logging In Directly To Adobe Portfolio

You can directly access Portfolio by visiting https://portfolio.adobe.com or you can log in using TUportal by clicking on “Access Adobe Creative Cloud” on the page where you verify your subscription.

If you log in using the Portfolio website, you must log in using the *Company or School Account* option when it appears. Do not choose *Personal Account* or your account may be disabled. Once you log in, click on New Site to begin building your website. While you can build up to five different sites, your class content should be contained in only one site, preferably the default site.


CREATE YOUR WELCOME PAGE

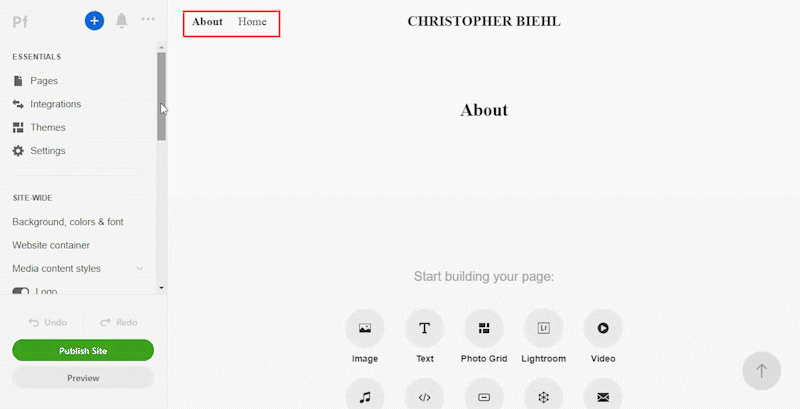
Follow along as the video discusses the ins and outs of the Portfolio user interface and discusses the many options presented when creating your first page of your website. You can find the files used in this video at the top of this lab in the section titled *downloadable files*

Key Points From Video

  1. Once you click new site, Portfolio will ask if you want a full portfolio or a welcome page. For this lab, you are required to choose the welcome page option.
  2. Choose a light or dark background and choose how you want your content displayed (centered, cover right, or cover left)
  3. Proceed to add and remove content from the welcome page as required or due to personal preference. Most default modules on the page can be removed or edited by hovering over the module, clicking the pencil icon, and choosing from the list of options.


  4. A wide range of options are available when it comes to your welcome page. Adobe has created help pages to step you through the process of creating and editing your welcome page.

    - The first link is the main menu for everything related to the welcome page
    - You can also read up on how to insert a welcome page.
    - If you have questions about the different layouts for a welcome page, this is the link for you.
    - As discussed in the video, adding images to your welcome page is very important. Visit this page to read up on the welcome page images.
    - Finally, Adobe created a page for those needing help creating content for the welcome page.

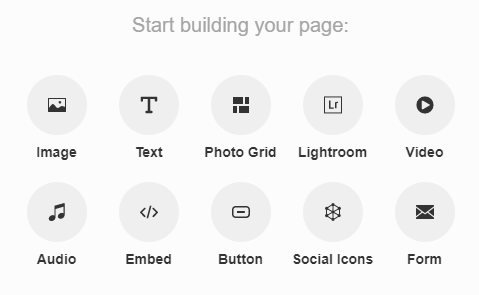
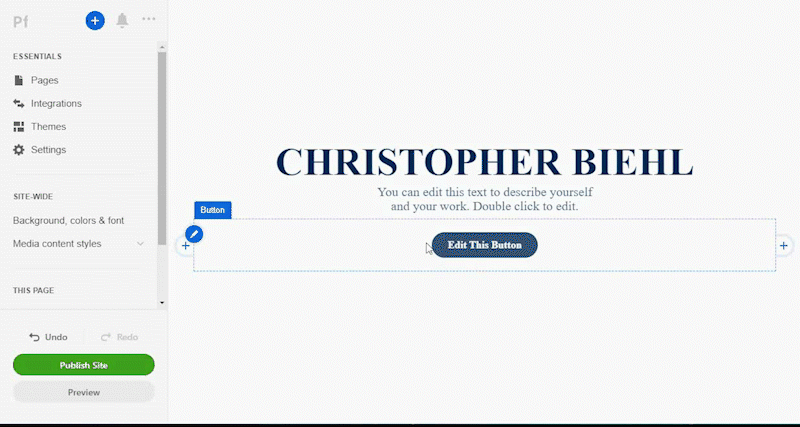
Note: For this assignment, you will need to keep the header text, paragraph text, and button modules. However, you can delete the social icons if you have no use for them, or prefer not to use them, at this time. Also, it is suggested you edit the welcome page button after your build all three required pages for this assignment since you have no place to link to at this time.


CREATE YOUR ABOUT PAGE

about page

Key Points From Video

  1. To add a page, click on the blue plus sign at the top left corner of your open portfolio, or click on Pages in the left menu and then click the blue plus sign. Clicking the plus symbol will give you an option of what type of page to add. Choose the first option, “Page”, to create your about page. More information about page types and how they work can be found on the Adobe Portfolio website.
  2. Enter your page title. Your page title will end up on your navigation bar, so try and be concise in your wording. In this case, the word “about” would be perfect – both short and descriptive.
  3. Your destination will be navigation, do not make this page your homepage, and click on create page when you are ready to add the page.
  4. Once the about page is created, Portfolio shows you a list of modules you can add to the page. Typical modules to add for the about page include image and text modules. Click on any module to start creating content for your new page.
  5. modules of Portfolio
  6. To add additional modules, hover over your first module, click on a plus sign, and choose a new module to add. The Adobe Portfolio website has additional information on the many options available when adding and editing pages and the types of content you can add to those pages.
  7. After creating your about page, you may need to update your navigation bar, so the home link comes before the about link. You can do this by clicking on pages and use the circular buttons to drag your pages to the order you wish them to appear on the navigation bar.

  8. fix navigation order

CREATE YOUR CONTACT PAGE

contact page

Key Points From Video

  1. Using the blue plus symbol, create another custom page and name it Contact. Update your navigation bar so the order appears as home –- about –- contact.

    Note - Your navigation bar will not appear on the welcome page but will appear on every other page of your Portfolio. Your welcome page will contain a button that will allow the user to enter a subpage of your choosing where your full navigation bar will appear.
  2. In addition to the required form module, common modules for this page include the text and image modules. Be sure to refer to your assignment to find out the requirements for each of your pages.
  3. By default, your form is populated with three questions (name, email, and message). To add additional questions, hover over the form, click the pencil icon, and choose the customize option.
  4. The contact form box allows you to add, delete, and modify questions.
  5. The form options box allows you to update your email address and set form design parameters.
  6. The form labels box allows you to set design parameters to the labels, or the questions, of your form.
  7. The form fields box allows you to set design parameters to the fields, or the answer boxes, of your form.
  8. The submit button box allows you to set design parameters for the button, the normal status of the button and the hover status of the button.
  9. The submitted message box gives you the ability to add a custom message for the user who fills out your form. You can also set some design parameters for the custom message.
  10. Once you create your form, add any additional modules required for this page. You can often add modules on any side of a current module by clicking on the correct plus sign symbol.

  11. add content to the form

FINISH ADDING CONTENT TO YOUR THREE PAGES

final touches

Key Points From Video

  1. By now, you are more comfortable using the Portfolio interface. Look over your welcome, about, and contact pages and make sure each page has the required content. Check your spelling too!
  2. On the welcome page, update your button so it links to your about page. Change the wording on the button to let the user know the purpose of the button. To edit, hover over the button, click the pencil icon, and choose the edit button option. In the left menu, you can now edit the text of the button and choose where to link as well as make some design decisions.


PREVIEW YOUR WEBSITE

  1. Be sure to preview your website before you publish. Fix anything that does not look quite right and then preview again. To preview your site, look in the bottom left corner of any page you are editing and click on the preview button. Notice how you can preview how your site will look on multiple devices including desktops, tablets, and phones.
  2. If your site requires additional work, click on the back to edit button. If you are ready to publish, you can click on the publish site button. If your site has already been published in the past, the button will contain the words “update live site”.
  3. Clicking on the publish site button will immediately make your site live on the Internet.

OBTAIN THE URL OF YOUR WEBSITE

  1. To visit your live site, you will need the URL. To obtain your URL, click on the Portfolio icon (Pf) in the top left corner of any page you are currently editing. You can also click on the three dots found to the right of the bell icon and choose the manage sites option.
  2. You should now see any site you created along with the URL of those sites. Be sure to get the exact address because if you are off by even one character, the link you share with others will not work.